Monoprinting
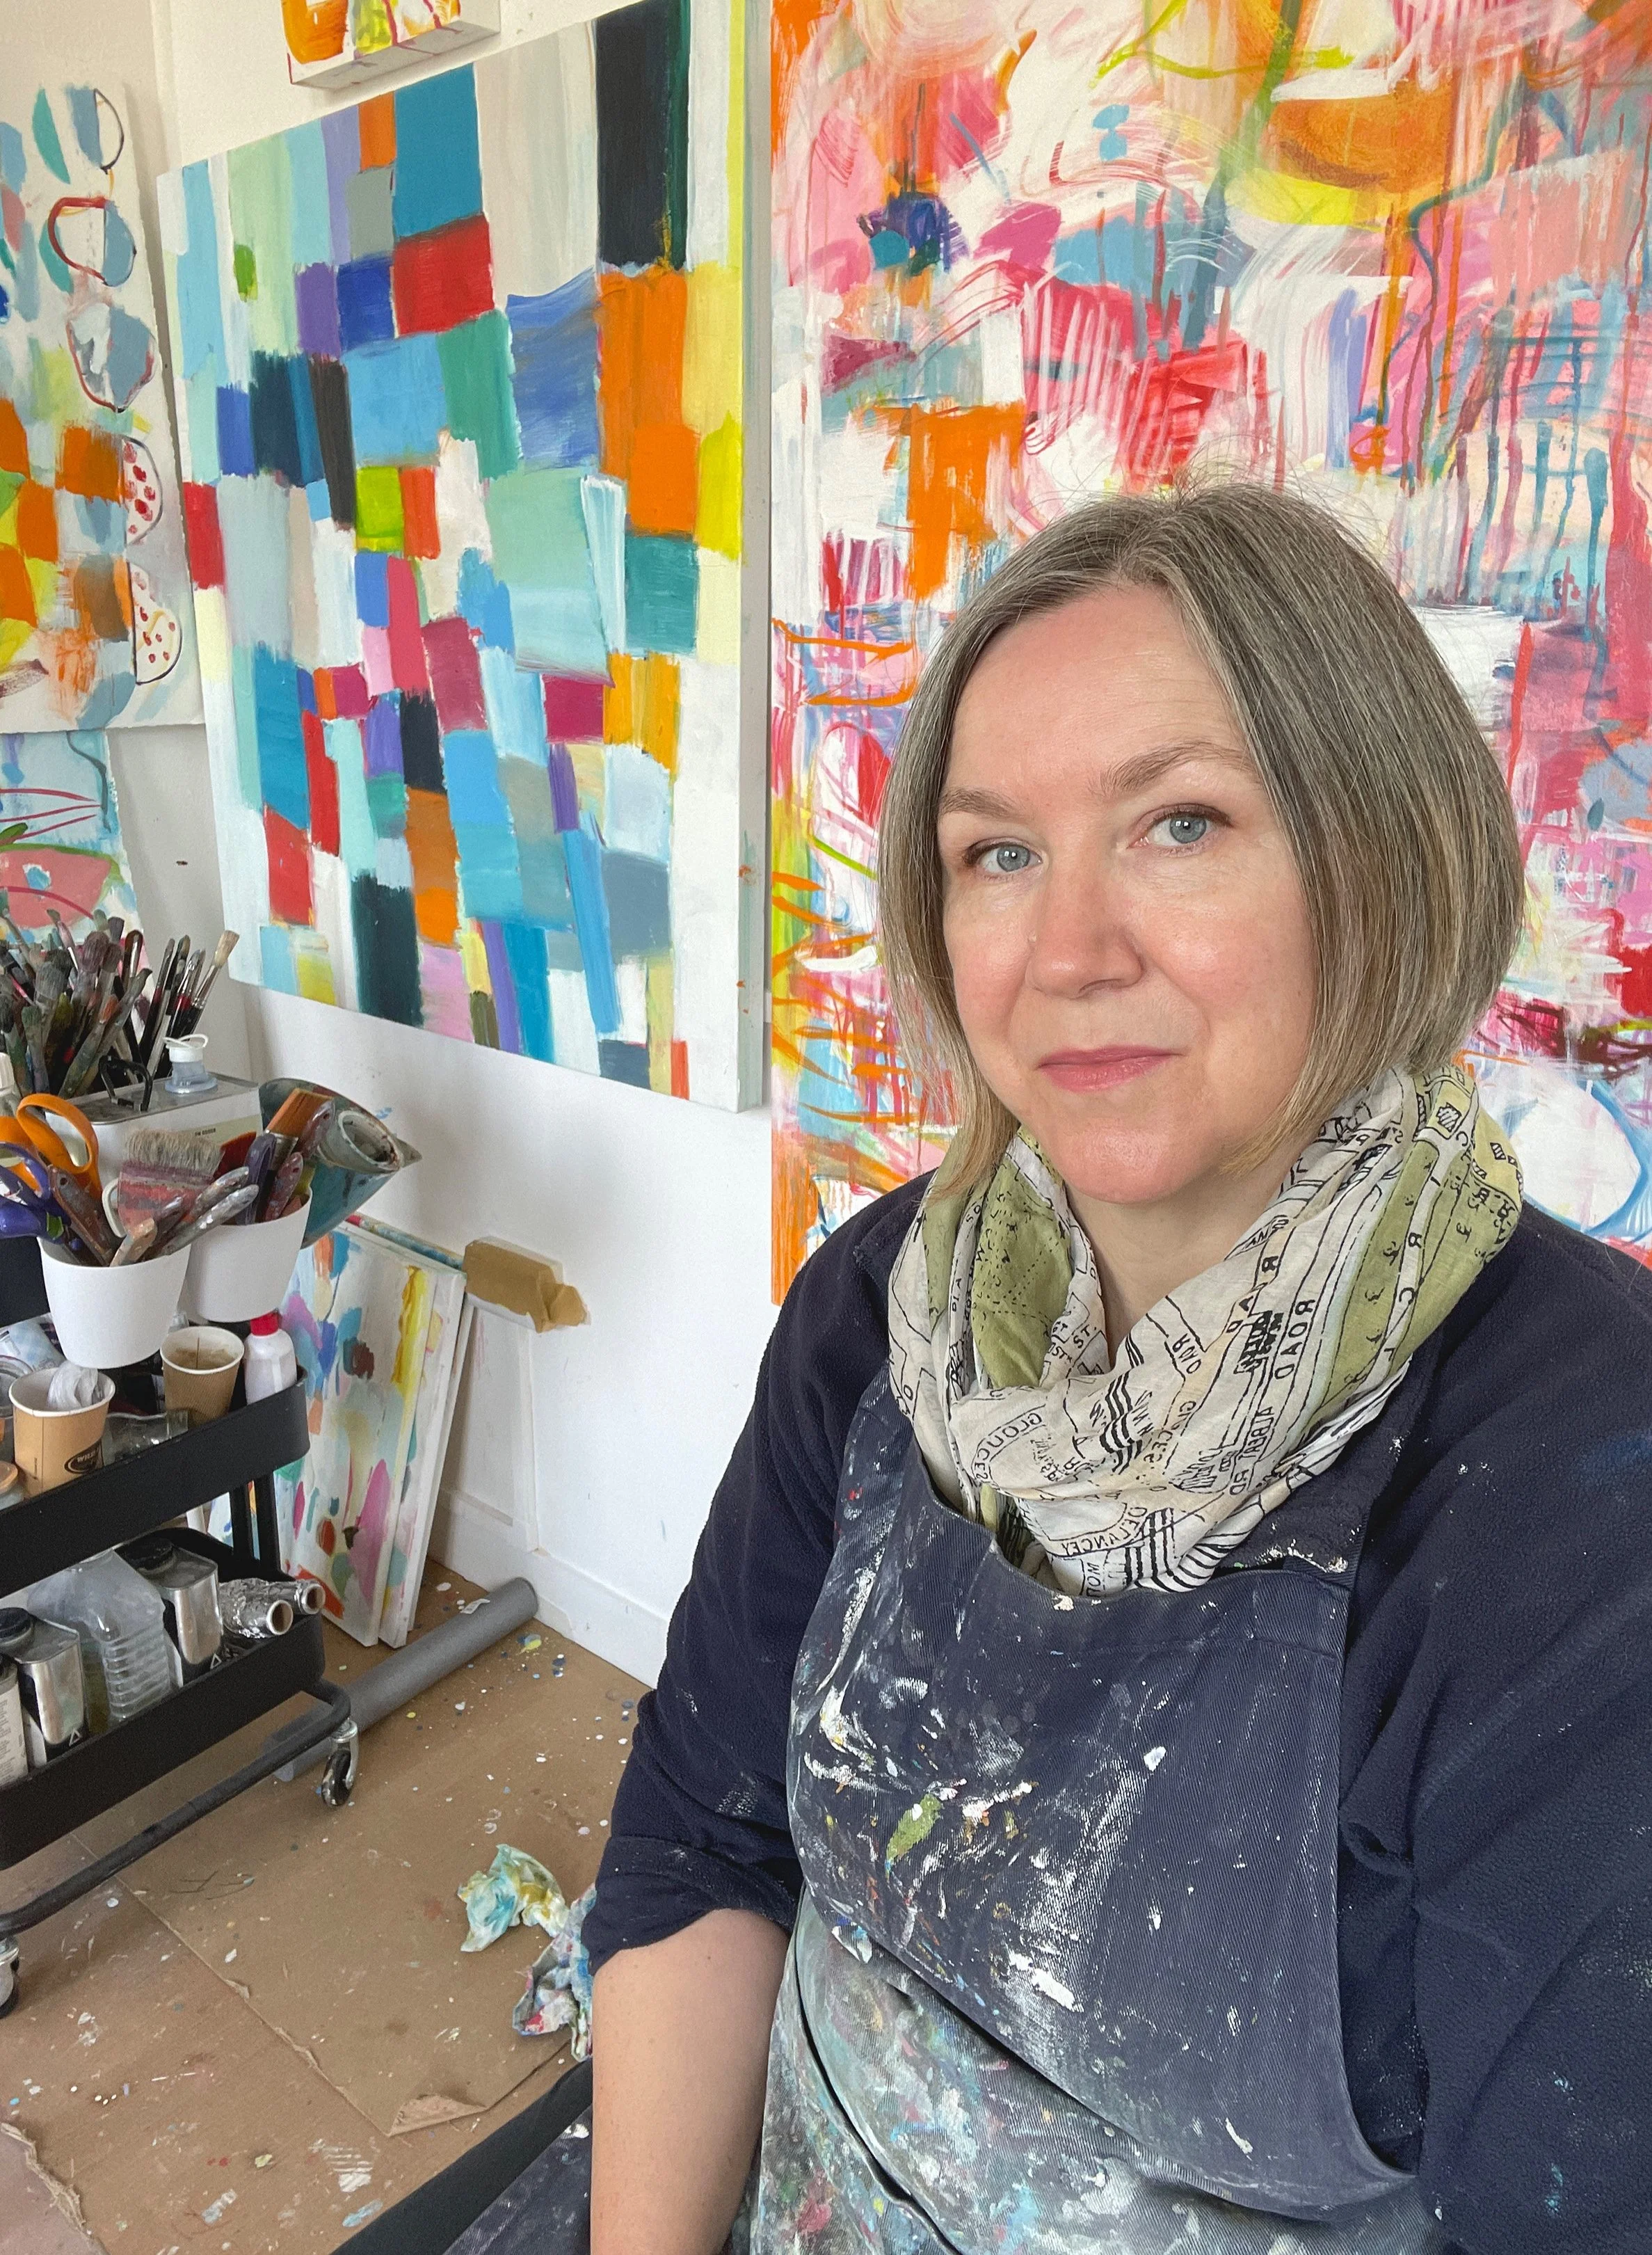
My love of Monoprinting goes back to art school, where I was first introduced to the technique by my painting tutor. I thought It would be good to share different aspects of my studio practice and monoprinting is a really central part of my work.
As an artist who has drawing at the heart of their work (in even in the most abstract of painting) I use monoprinting as a key part of my practice and have continually returned to it.
How to monoprint
The technique I use allows for the accidental and unexpected to happen, in a way that direct-drawing does not. Bascially, you press through the back of the paper onto the ink bed, and when you peel back the paper the work is a mirror image.
Unlike other forms of printmaking, a monoprint is an edition of one. Each print is unique. I like to print in short runs, producing groups of images in a printing session. They share similarities, maybe even a narrative, but importantly each print in unique.
When working, you don’t know what the image will really look like until you peel back the paper. I tend to work quickly and each image is unplanned, beyond having a general overview of a theme. I just begin to draw and go with it. I think this method relies on trusting your own ability and having confidence in what you are doing- just draw and allow yourself the freedom of going wrong.
Economy of Line
One reoccurring motif is the face…I think of them as sculptural rather than portraits. I often include a stand or plinth and the faces are simplified down to a few lines. A huge influence for this work are the line drawings of Picasso, if you’ve seen them you’ll know what I mean when I say ‘economy of line’. If you haven’t come across them then i’d definitely look them up.
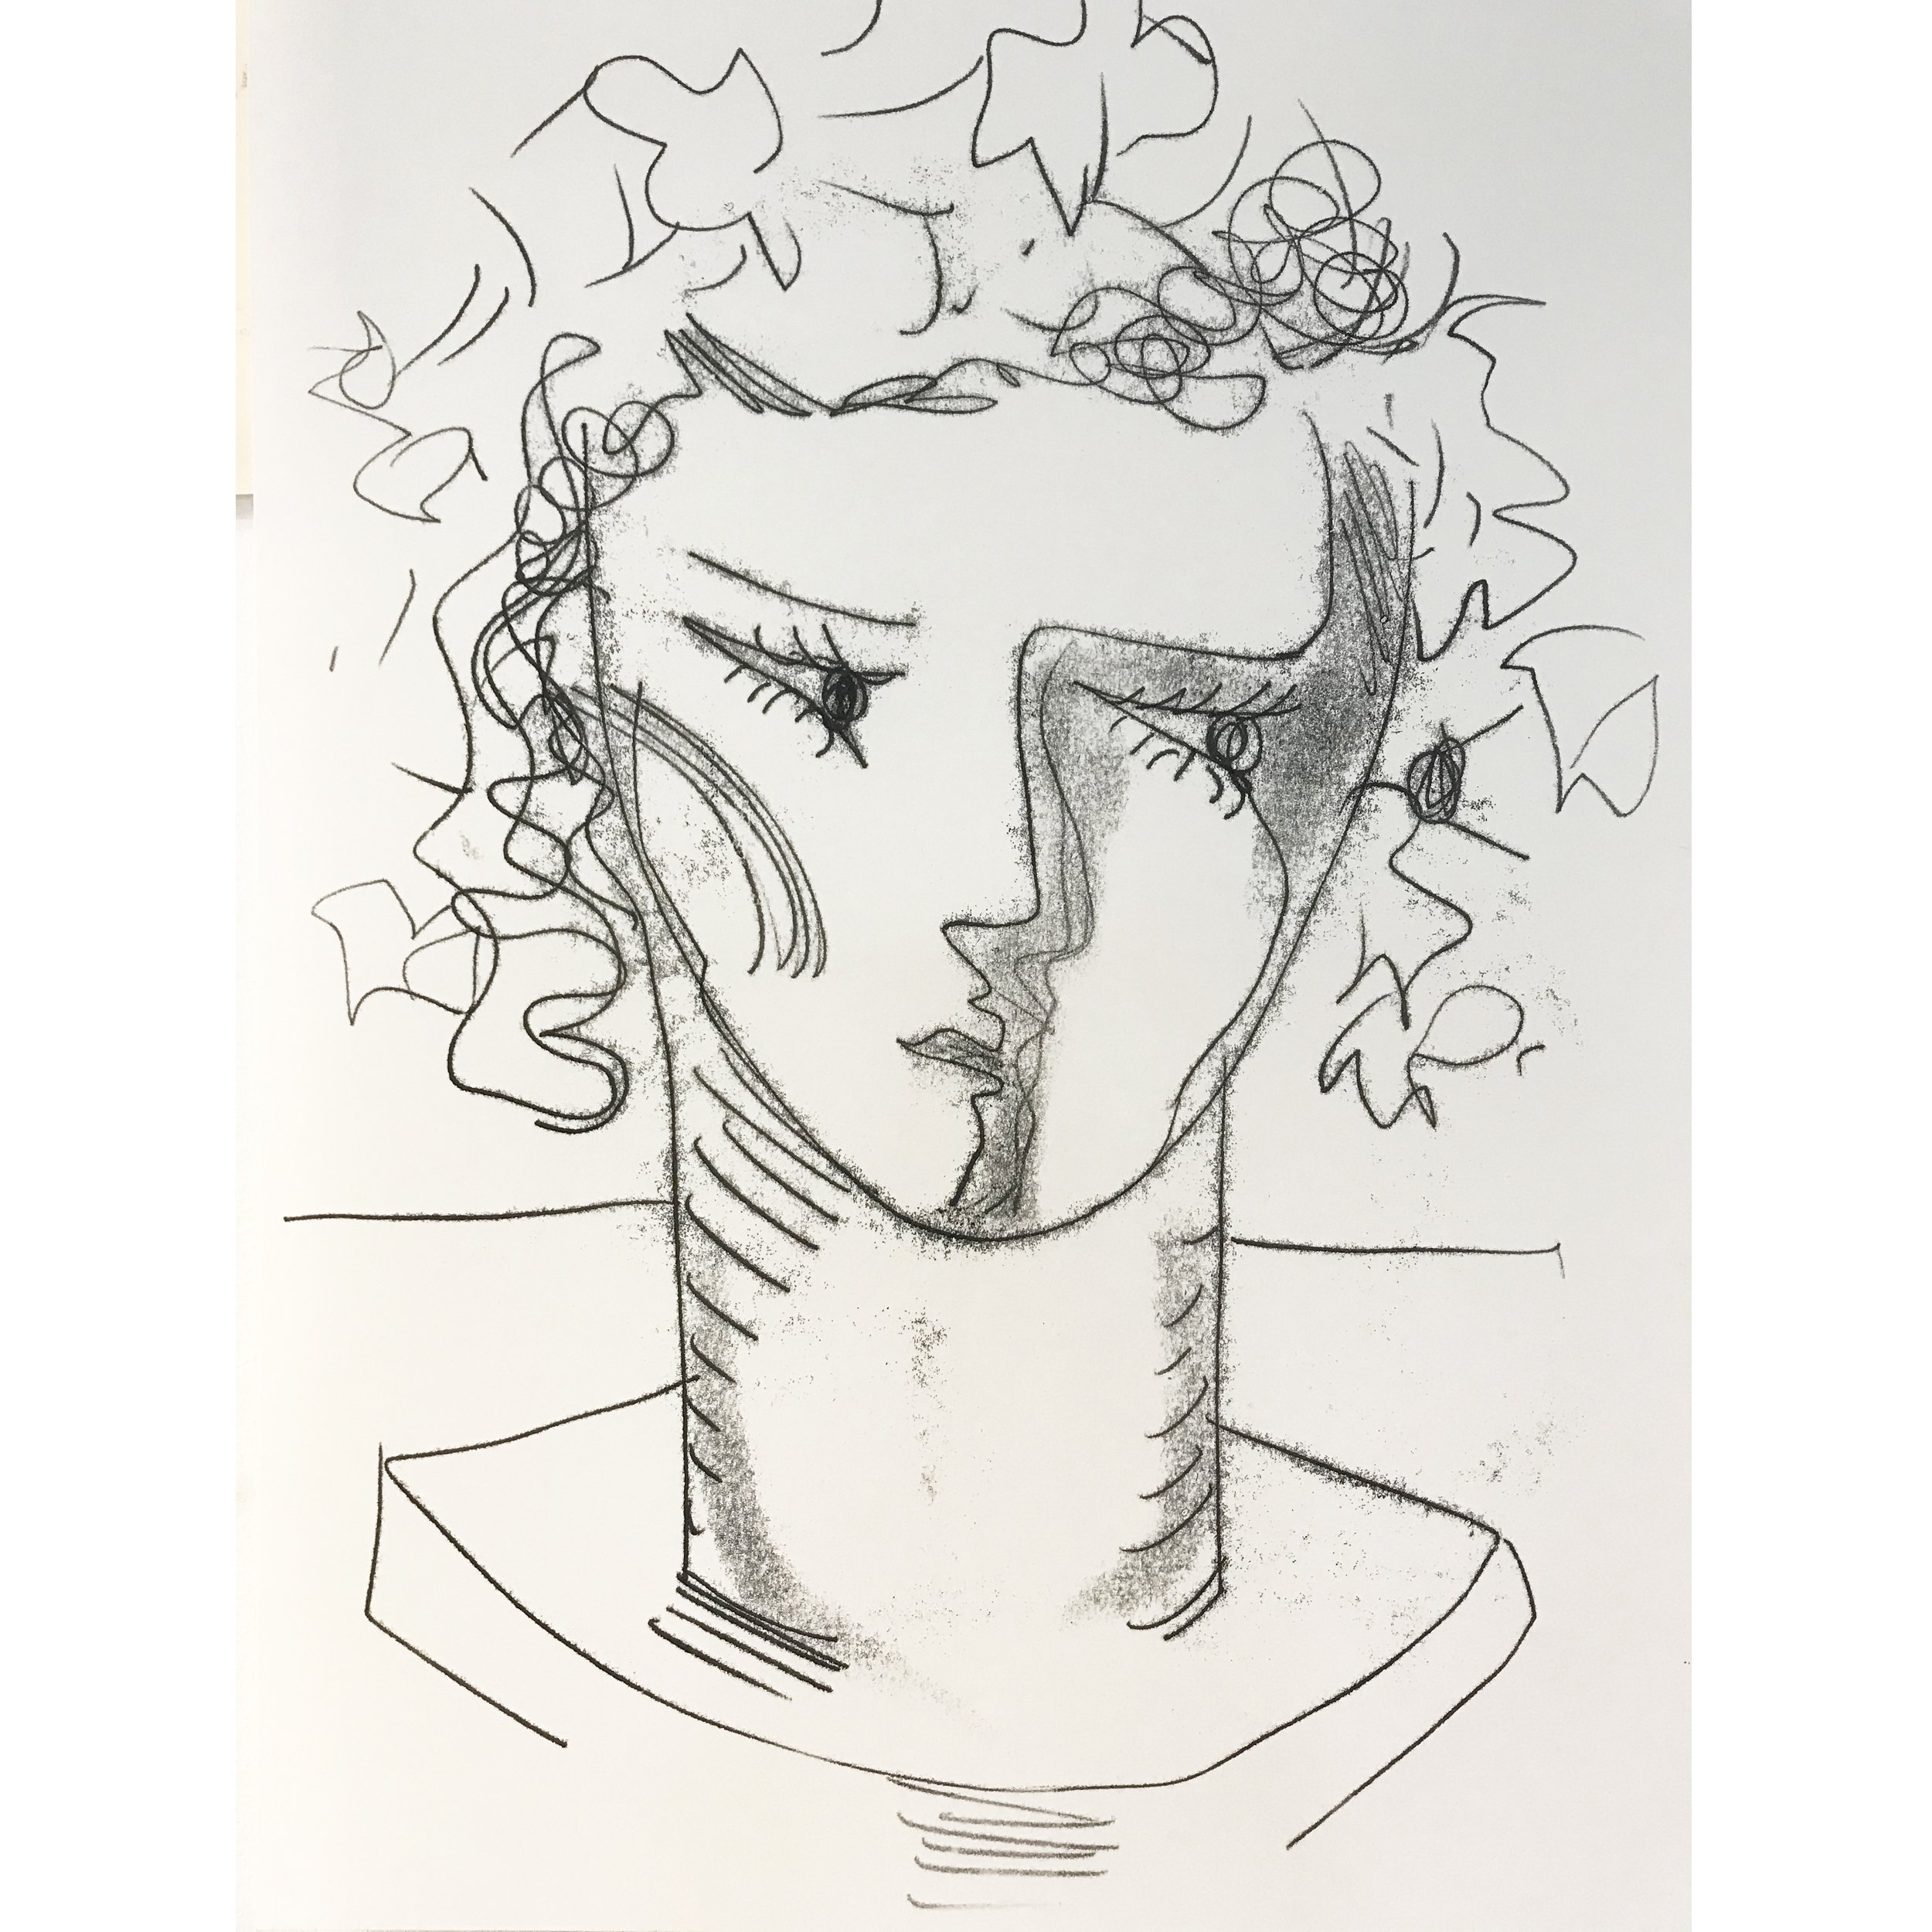
This head was inspired by Elizabeth Taylor and her amazing lilac hat she wore in The Mirror Crack’d. From this I was commission to create a series of Hollywood stars for a collector.
I often draw heads, sometimes distilling the image to just three or four lines, often just using black ink. It is a fascinating image to use as a starting point, recognisable in just a few marks. Expressing emotion and feeling with the tilt of a line. From birth our brains are hard-wired to recognise and ‘read’ faces, it is arguably the most direct of images.

Have at go at monoprinting …
You’ll need a sheet of safety glass (or smooth perspex), black block printing ink (water-based is easier to clean up), a printers roller…and lots of paper.
Roll out a very thin layer of black printing ink on the sheet of safety glass. Cover an area roughly the same size as the paper you are going to use and make sure the ink is really very thin. This is a bit trial and error if you’ve not done it before!
Lay a piece of light-weight cartridge paper gently on top of the paper…don’t press down! At this point, if the paper sticks to the ink then you know the ink is too thick.
From this point wherever you press on the paper it will lift the ink on the underside. You can use a pencil. pen or your finger to draw your image. Experiment on a few pieces of paper and play with your mark-making. The ink will start to dry after a few minutes so you need to work quite quickly.
Once you’ve got the hang of it, try using different colours of printing ink or different types of paper.
Working in a series

For this series I took a pad of paper and set up by the window of my studio. I looked at the tree outside and drew it until I ran out of paper. By looking at one object and drawing it again and again it allows you to really push your creativity and concentration.